Create a list
This list is what you will use to store your alerts. Let's create your list:
-
Open the settings menu and click on Add an app;

-
On the search box type Alerts;
-
Look for the Alerts list and open it;
-
Pick a name for the app and click on Create;

-
You've created the list that will contain all the specific fields from this web part;
-
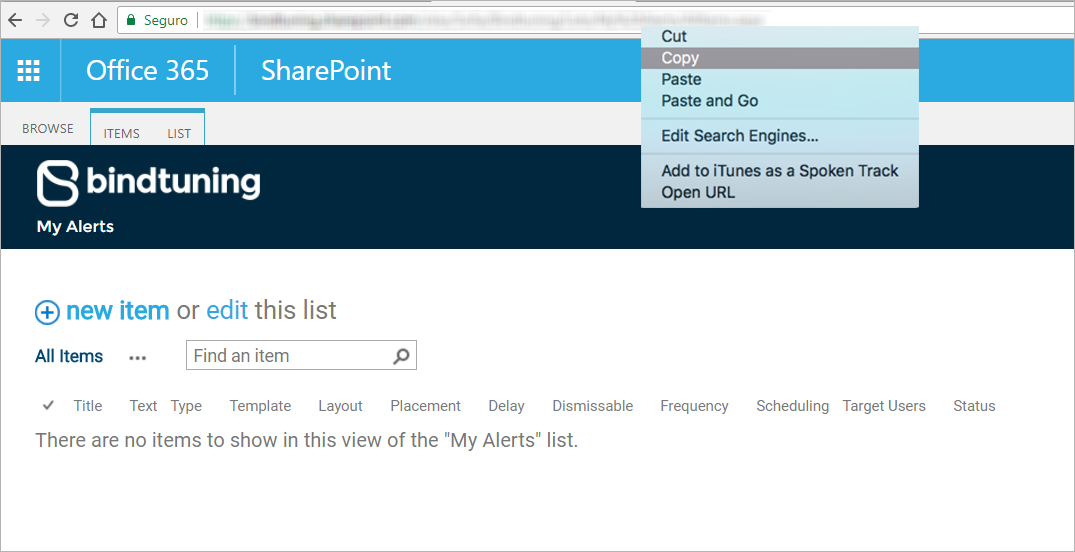
Open the list that you have created, and copy the list URL, you will need it to connect the list and webpart.
List URL
In this field, you need to paste the list URL that you have copied when you finished to create the list.
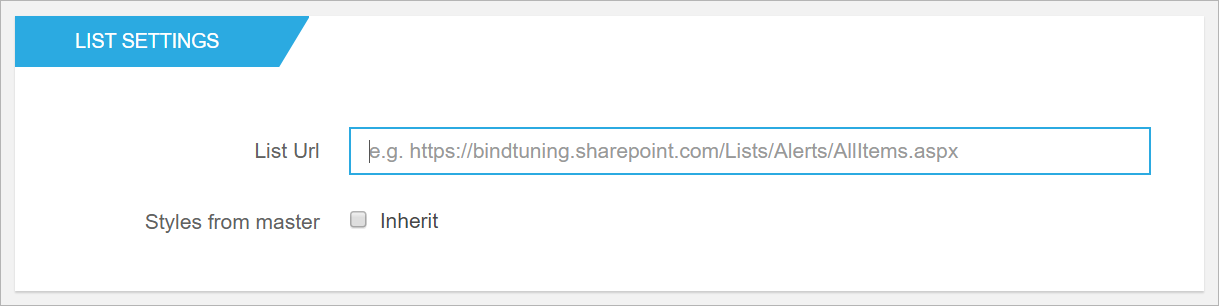
We recommend you use relative paths in this field. So instead of using a URL like https://company.sharepoint.com/sites/Home/Lists/Alerts you should use something like /sites/Home/Lists/Alerts. This will ensure that the web part will work regardless of how you’re accessing the site.
For some versions of SharePoint, you may get the following error: Object doesn't support property or method 'getList'. This error can be fixed by adding a question mark followed by the name of the list at the end of the URL. e.g. …/Lists/Alerts/ would become …/Lists/Alerts/?Alerts List
Style from master
This setting applies when a BindTuning theme is installed. If you enable this option, the alerts styles that come with the web part will be overwritten by the installed BindTuning theme style. This allows you to achieve a more consistent and integrated UI.